HOW TO CREATE A GRAD CAP
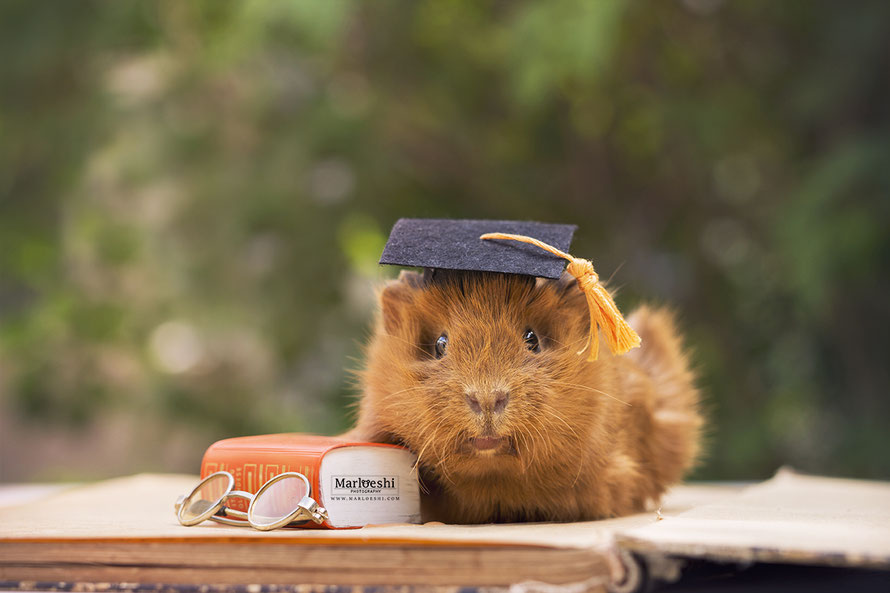
I graduated recently. Of course I had to do a graduation themed photoshoot as well. A lot of people asked me how to make the tiny graduation caps I used. They are super easy to make and all you need are a few items and about 10 minutes. Continue reading to find out how they are made!
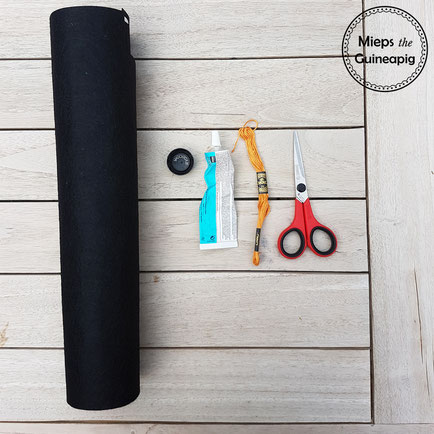
You will need:
- Plastic bottle cap (0,5 liter water bottle, coke bottle etc.)
- Black felt
- Yarn
- Glue
- Needle
- Scissors
The steps:
Making a graduation cap cost me about 10 minutes in total. They are super easy to make. Here are the steps:
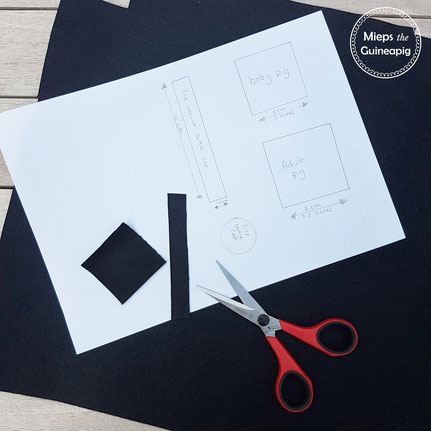
1. Cut the pieces of felt you need.
For a baby guinea pig I used a square of 5 x 5 cm ( 2 x 2 inches) and for an adult piggy I used a 6 x 6 cm square (2,5 x 2,5 inches). To cover up the bottle cap you will need another long and
thin piece of felt.
There is a download available below for a cut out sheet of the sizes I used.
2. Make the tassel from a piece of yarn. Watch the video to see how I did it. Don't forget to attach the fessel to the top part of the hat before you glue everything
together.
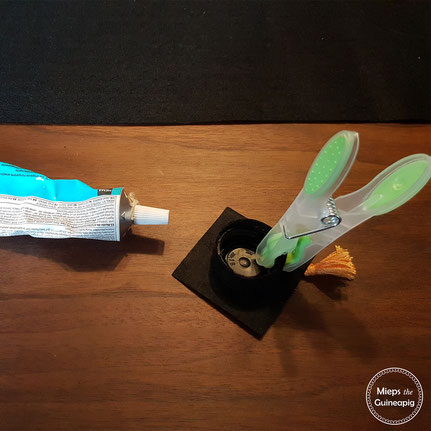
3. Now that you've finished the above you can glue the parts together. Glue the top part of the hat to the bottle cap first. Now glue the long piece of felt around the
bottle cap to cover it up. You can use a clothes peg to keep everything together until the glue dries.

1. Cut out the pieces you need.
2. Make the tassel with the help of a piece of cardboard.

3. Glue everything together. Use a clothes peg to keep everything in place until the glue has dried.