
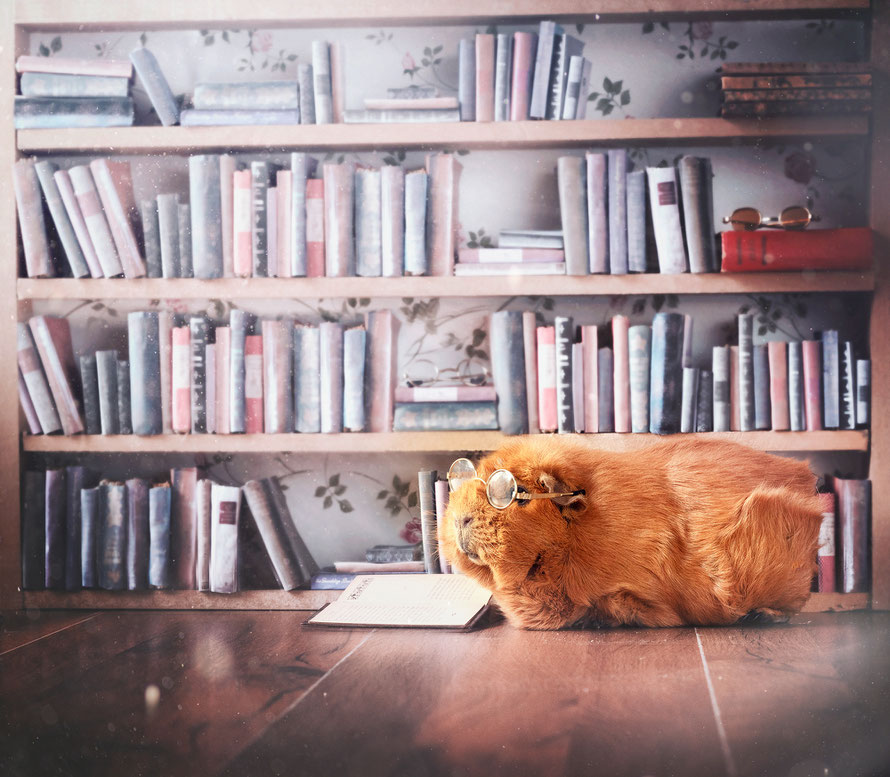
''Pien and the tiny bookshelf''
A peek behind the scenes on how I created this image with Pien and the bookshelf. This is a photo that was easy to photograph and Photoshop. Although it took quite some time to make all the props I needed for this photoshoot. In this blog I'll take you with me through my creation process.
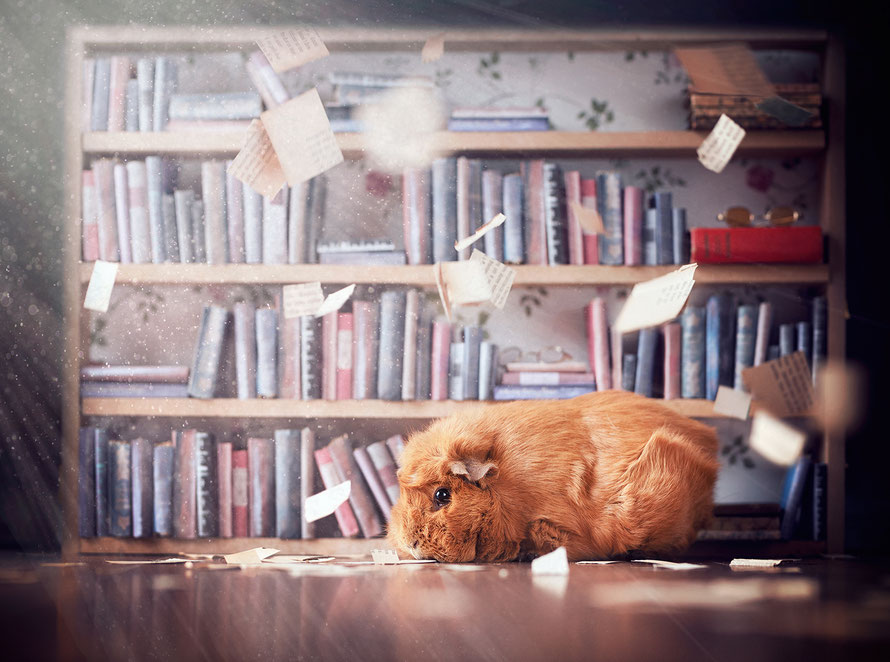
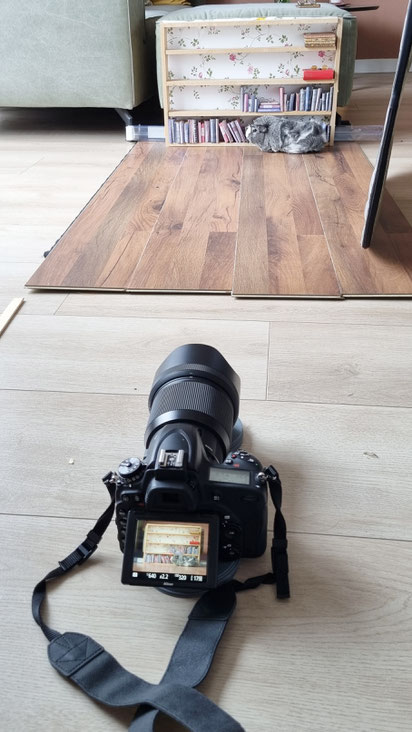
EXIF: Nikon D750 | iso 320 | 1/640 | f2,2 | 85mm
I had so much fun creating this image. It was a lot of work to create the tiny books and the bookshelf. Totally worth it though. I will definitely use this setup again. At first my idea was very different. I wanted to create an image as if I were looking through a keyhole. In post processing I didn't really like the look and feel of the completed image that way. So I proceeded without the keyhole.
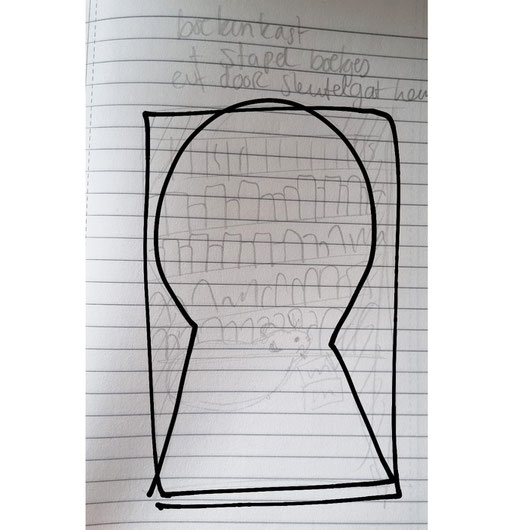
This was my initial sketch.
CREATING THE PROPS
Creating the props took a lot of time. I spend around 1 hour making the bookshelf and around 8 hours making tiny books. If I wanted to fill the entire bookshelf I would have to spend over 24 hours creating mini books. So I decided to use photoshop to fill the shelves.
You will need:
* Some kind of material to make a bookshelf. I've used Medium Density Fibreboard (MDF) because my dad had some of it
left from another project. I'd higly recommend useing material that is at least 12mm thick. Or else it will be very hard to assemble the bookshelf.
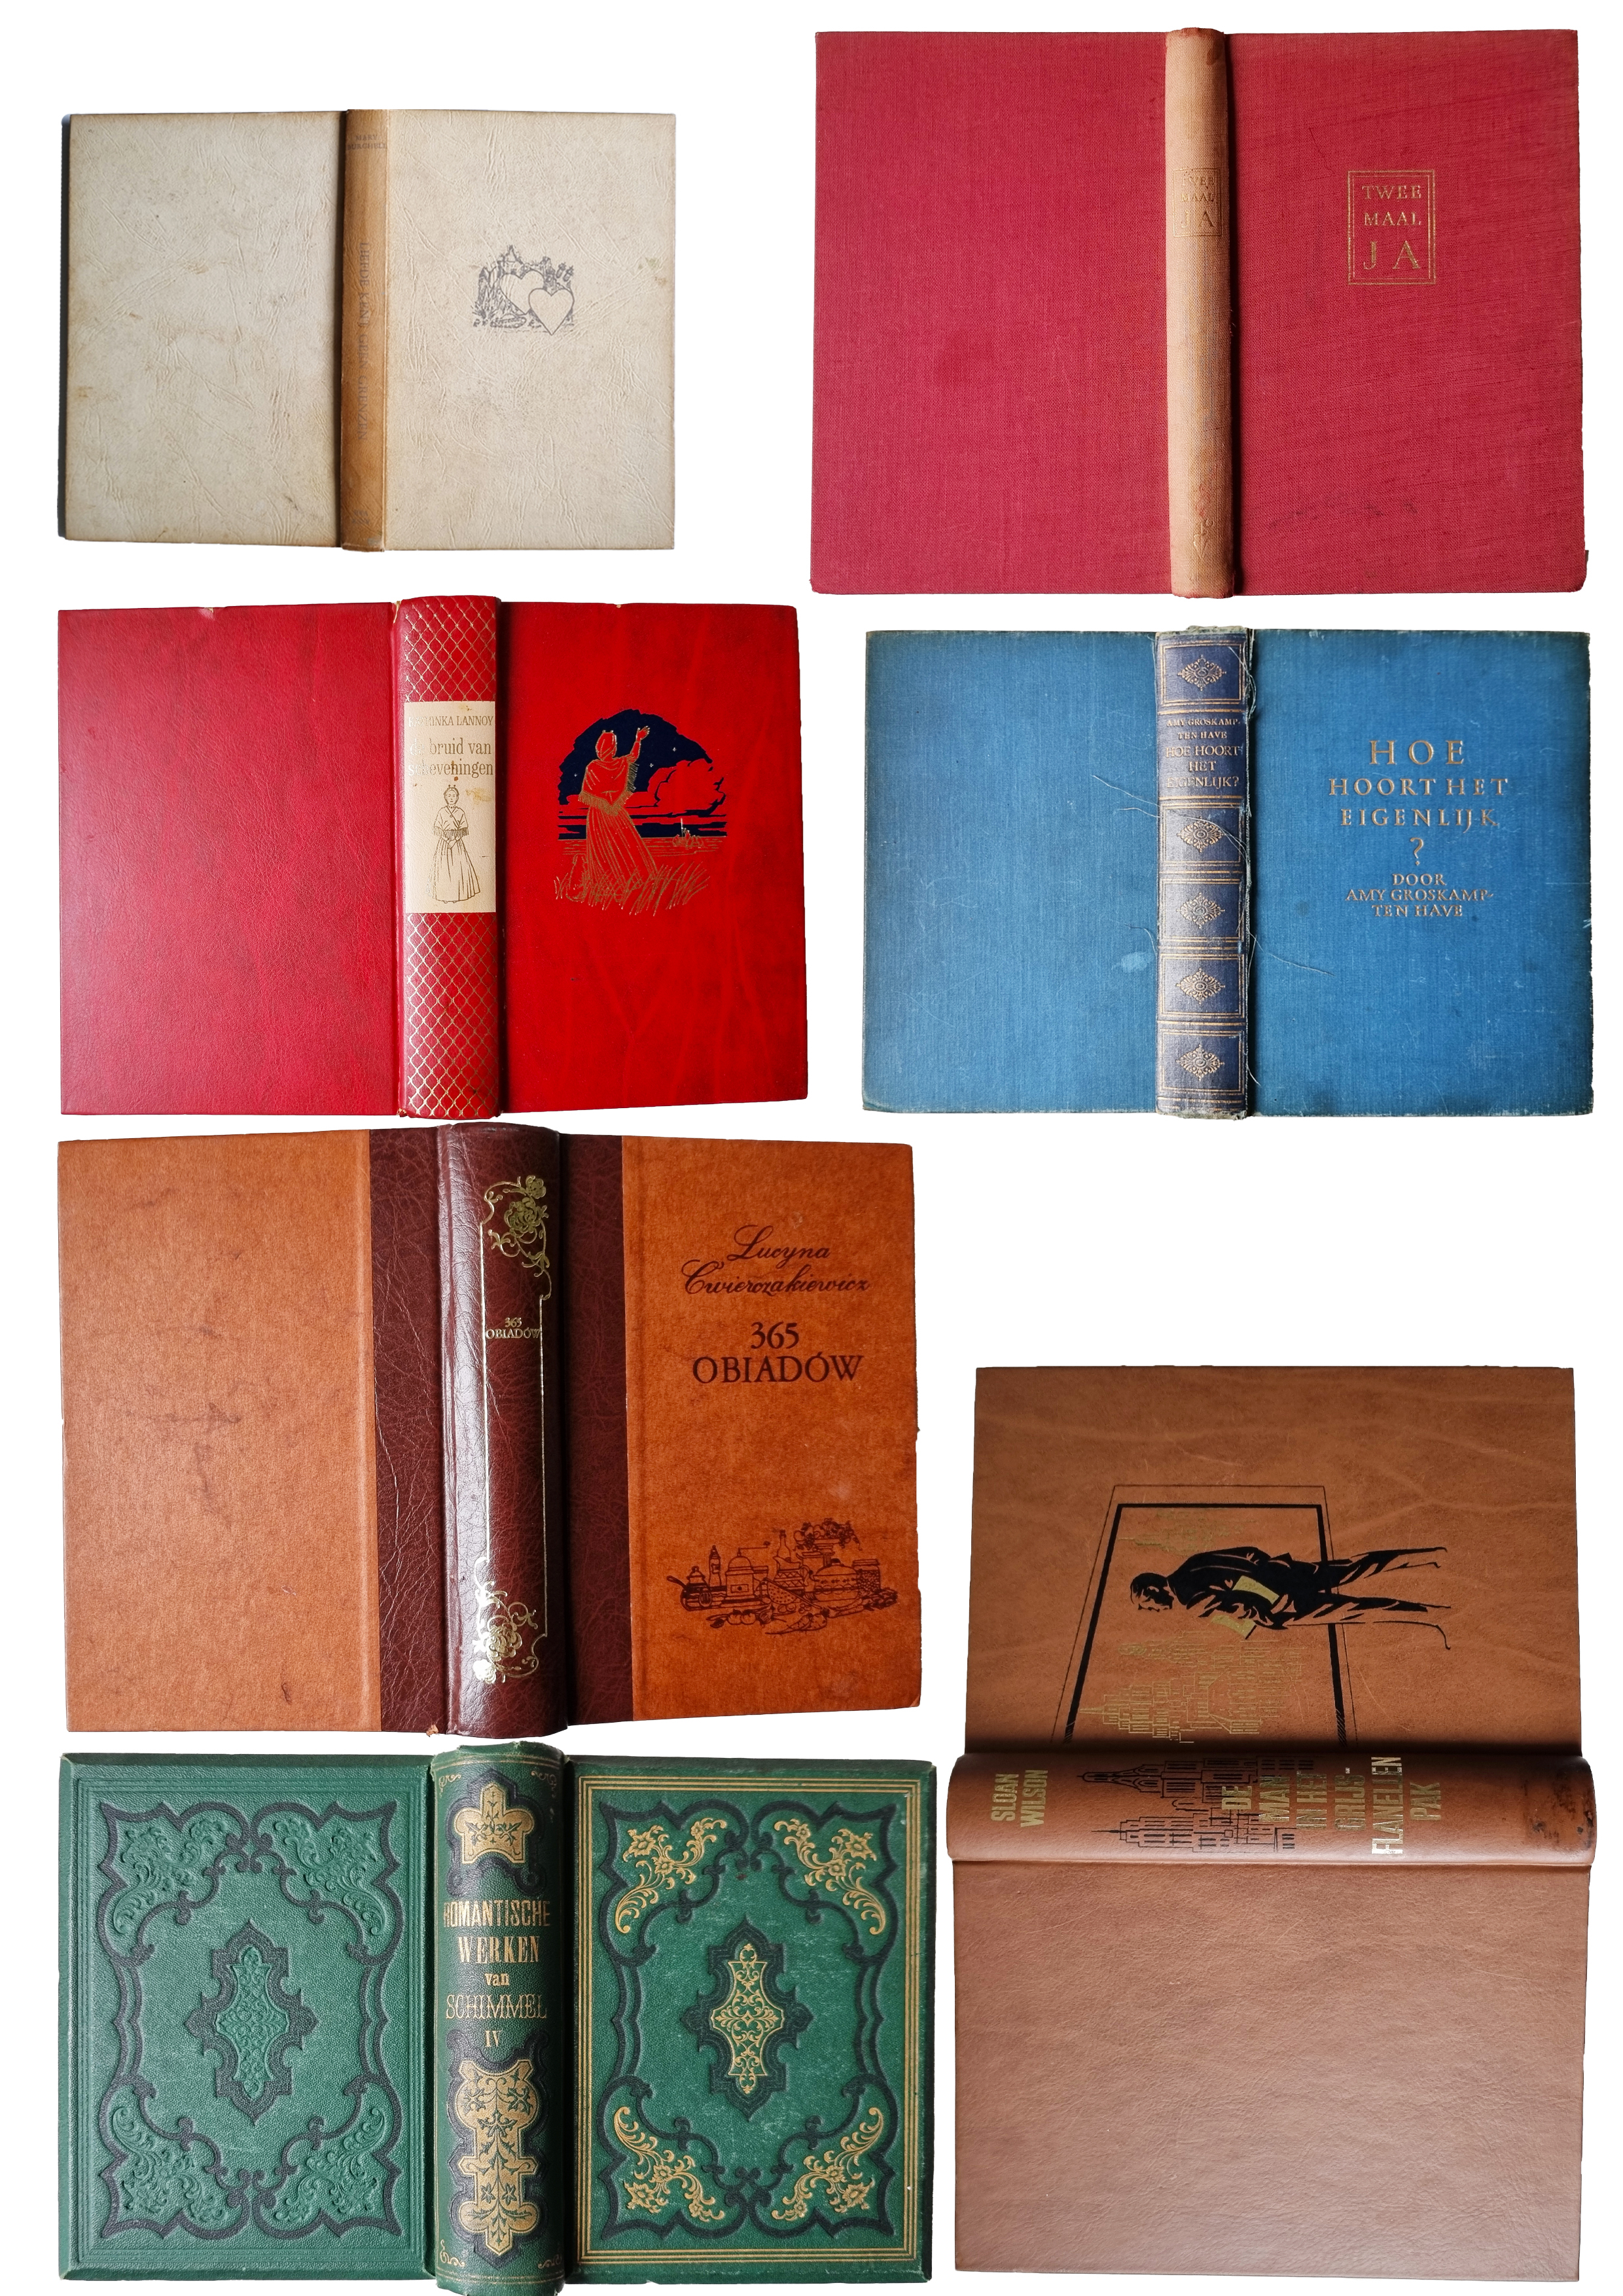
* Photos of old books to print and fold. I've added some at the end of this blog for you to download.
* Old magazines or old books to cut pages from to the size of your tiny books
* Glue gun - to glue the magazine pages to the printed book covers
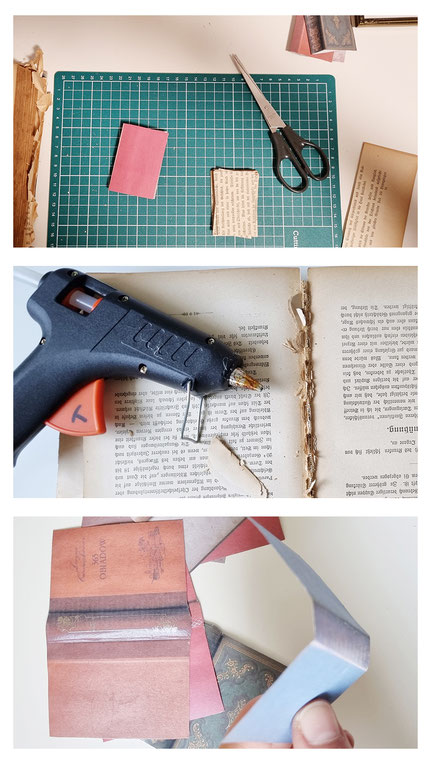
How to make the books:
* Take photos of book covers, resize them to around 8 centimeters and print
* Cut pages from an old magazine or old book to the size of your mini book
* Use a hot glue gun to glue the pile of pages to your printed bookcover
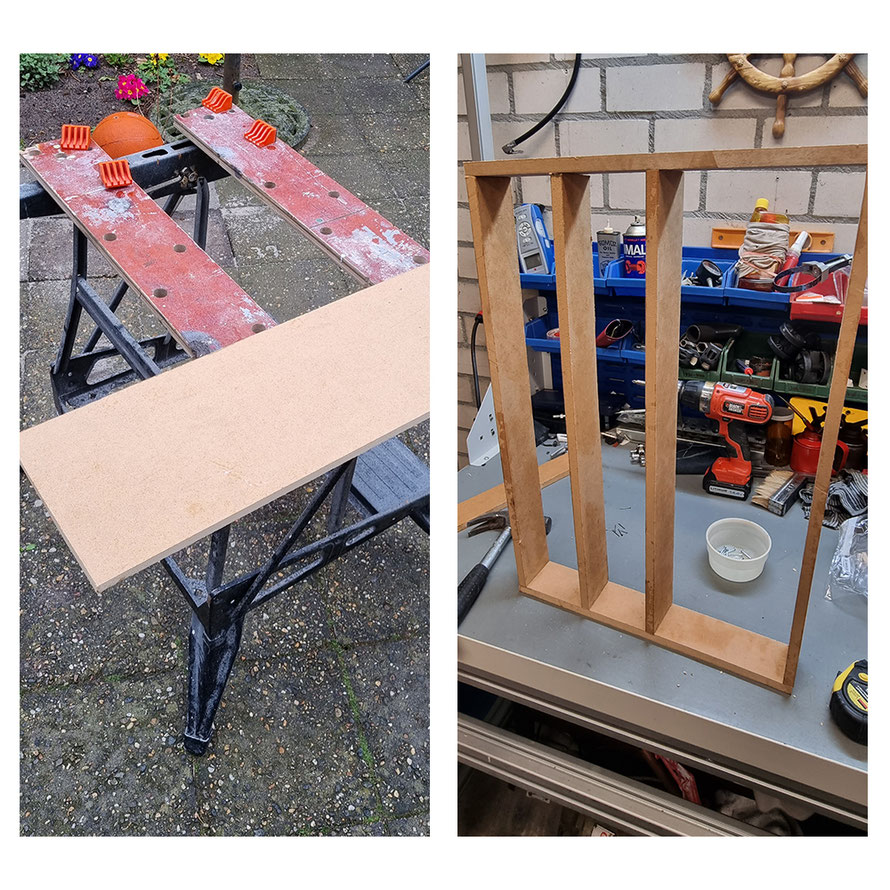
How to make the bookshelf:
My shelf was 40cm high and 60cm wide and approximately 6cm deep.
First you saw 5 pieces with the following dimentions: 60 x 6 cm
3 pieces will be the shelves, the other 2 pieces will be part of the bookshelf frame.
Saw 2 pieces of 40 x 6 cm. These will complete the bookshelf frame.
Make sure to measure with your tiny books where to put your shelves.
TAKING PHOTOS
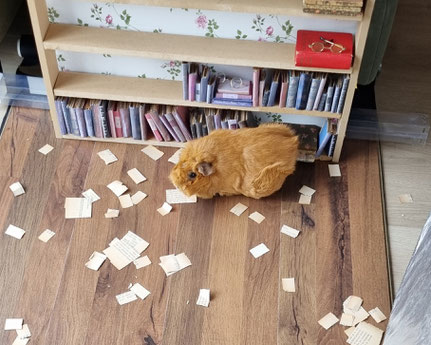
You will need your props and a reflective screen. I've used some old laminate as a floor, but this is of course optional. Some loose pages to throw around are also optional. You can decorate the bookshelf with other things than books. You could use a tiny plant, tiny glasses, tiny photoframes and so on.
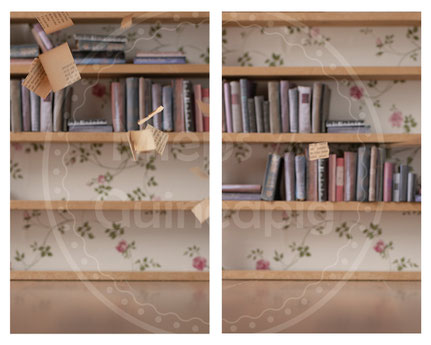
I did not make enough tiny books to fill the entire shelf. When I was finished with photographing the guinea pigs, I had to move the books to the other shelfs. It is very important to keep your camera in the same position so you can easily photoshop the books on the right shelf.
Same goes for when you want to throw pages in the frame. You need to move each section of books, take photos with falling pages and repeat that process until your bookshelf is completely filled. When you don't move the books you will have pages flying over empty shelves.
Book covers download
Hey... you might like this e-book!


Guinea Pig Photography Guide - Digital Download
The Guinea Pig Photography Guide will help you take cute photos of your guinea pigs or other pets. Get inspired to take your own adorable photos of your pets. This is a digital download and contains 48 pages of inspiration.
You will receive this digital download as a .pdf file via email. When you receive the notification 'your order has been shipped' I have send you the .pdf via email.
€ 4,99
including tax
- Available